SPS Other Support: Grant Manager User Guide
The new Other Support review tool centralizes preparation, review, and collaboration, giving Grant Managers a streamlined workspace where edits, comments, and review actions take place within the tool. The tool supports annotations, a transparent review workflow, and integrated researcher and grant manager notifications, all of which enhance accuracy and change management throughout the lifecycle of each Other Support document. Built-in prompts for the researcher during the review process, standardized fields, and guided steps help minimize errors and provide consistency across documents, while visibility into the review process helps Grant Managers track progress and move documents efficiently toward completion.
Jump to section:
- Review Tool navigation and layout
- Preparing an Other Support document
- Editing
- Annotating
- Adding or removing projects
- Review process
- Requesting researcher review
- Notifying researcher to certify document in SciENcv
- Exporting for SciENcv (XML)
- Downloading the PDF
- What will the researcher see?
Review Tool navigation and layout
To navigate to the Other Support tool, navigate to a researcher’s myResearchers dashboard. Scroll down on the left panel and click the “NEW CURRENT & PENDING TOOL (BETA)” button.
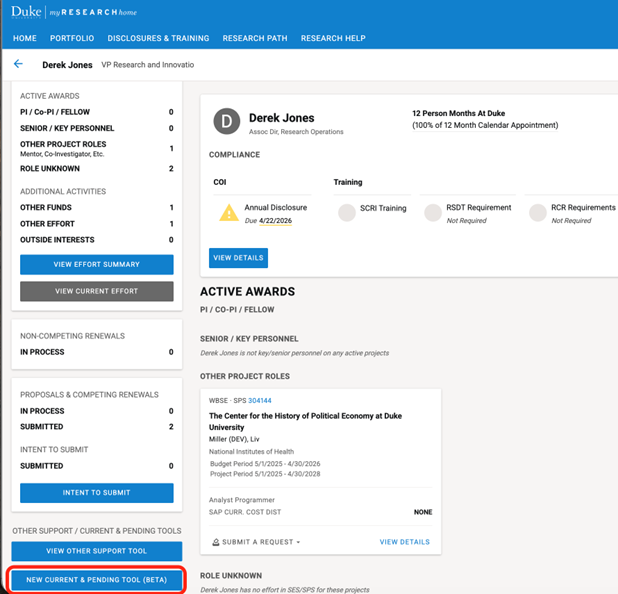
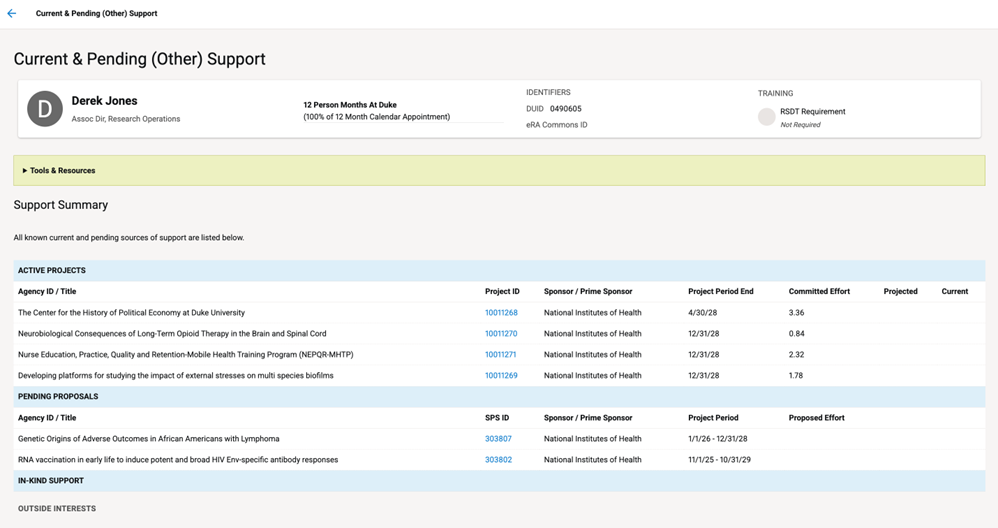
A list of the researcher’s current, pending, and in-kind support will be displayed.
Documents in process will be shown on the right panel. To open a document, click “View” on the document.
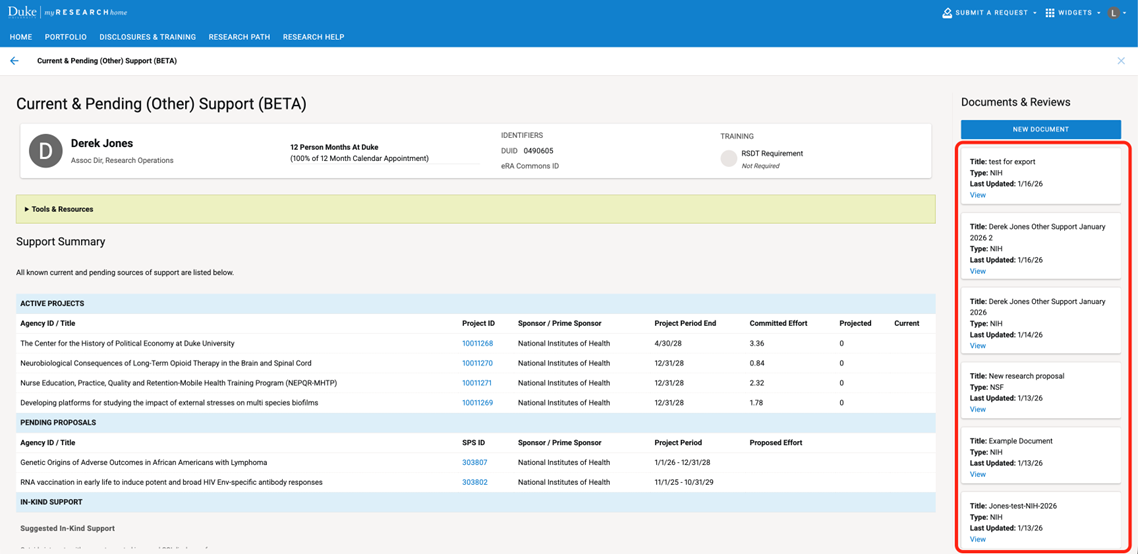
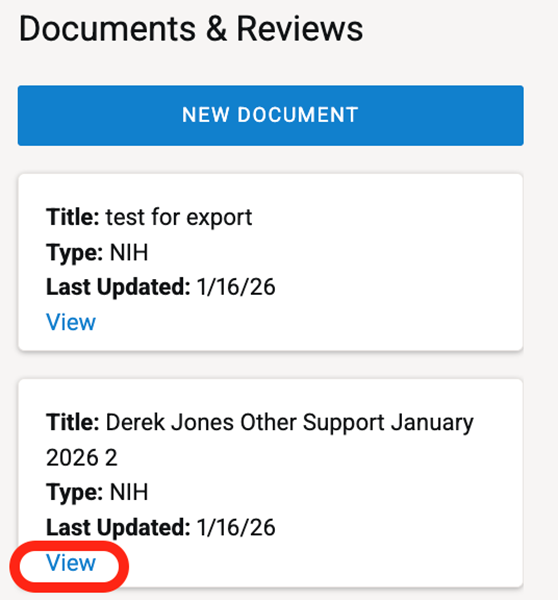
To create a new Other Support document for the researcher, click the “NEW DOCUMENT” button in the Documents & Reviews panel.

Click “LOGIN” if you aren’t yet logged into SPS.

Enter the researcher’s Duke Unique ID, a name for the document, and the type of document on the Create New Document screen. Then, click “SAVE DOCUMENT INITIATION.”
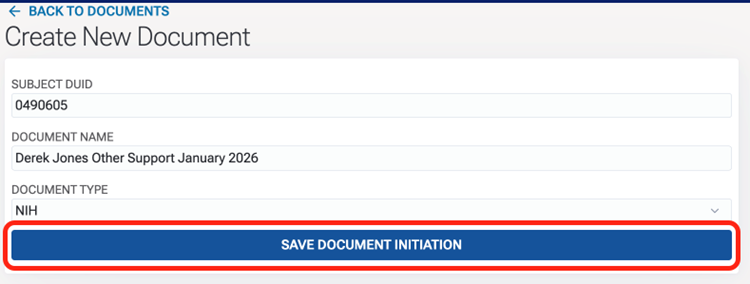
You will then be taken to the Other Support Review screen.
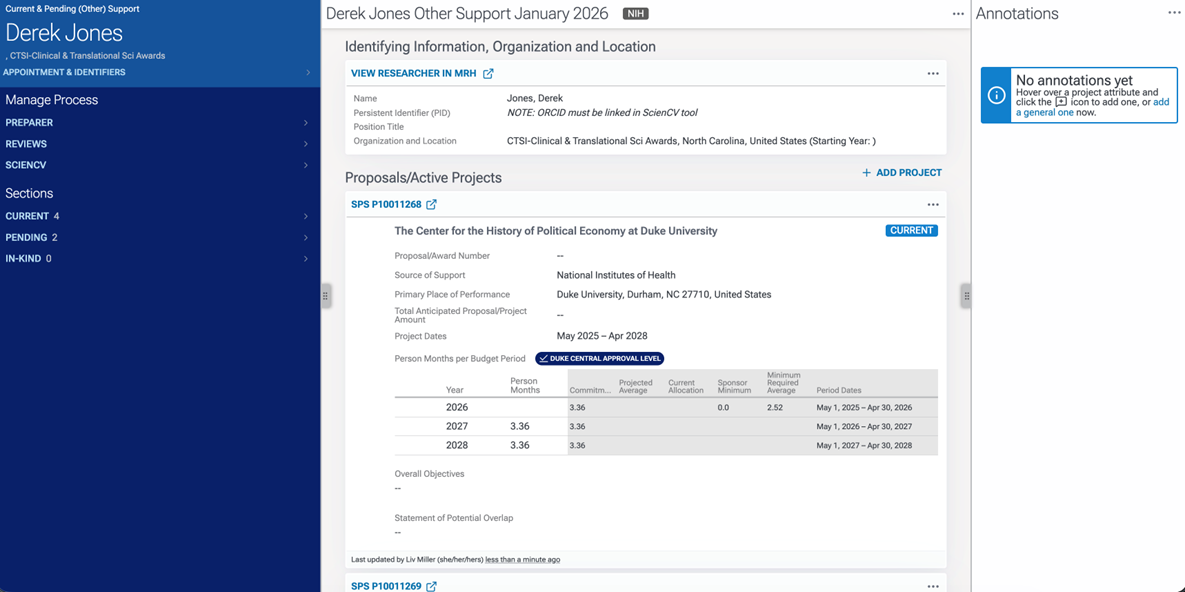
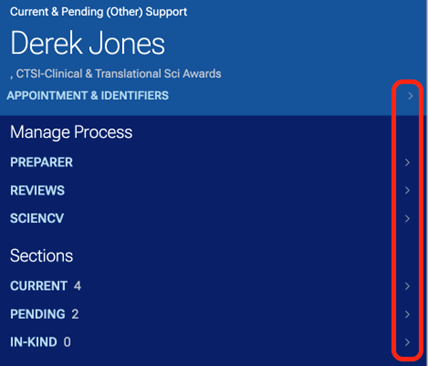
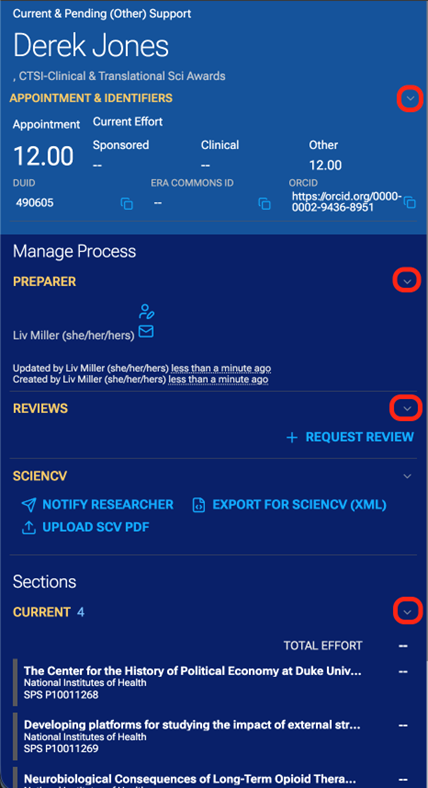
The panel on the left includes information about the researcher, the review process, and navigation to each section in the document. Click on the arrow next to each header to expand and collapse.
Preparing an Other Support document
An Other Support document is created based on the project information entered in SPS. There may be instances, however, where information pulled from SPS needs to be modified in the Other Support document.
Additionally, projects (such as internal projects not entered in SPS) may need to be added to or removed from the document.
Beyond just editing researcher and project information, there may be circumstances where you need to annotate the document (i.e., rather than updating a value, making a comment on it). For instance, you may know that a project will have a No-Cost Extension, but it hasn’t been approved in SPS yet; in this situation, you would make an annotation specifying this.
Editing
NOTE: Researchers cannot edit the Other Support document. They can only complete their review steps and reply to Researcher-Assigned annotations.
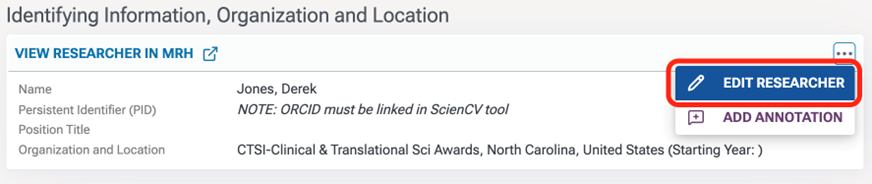
To edit researcher information, click the three dots in the researcher section in the middle panel. Then, click “EDIT RESEARCHER.”
Update the field(s), then click SAVE
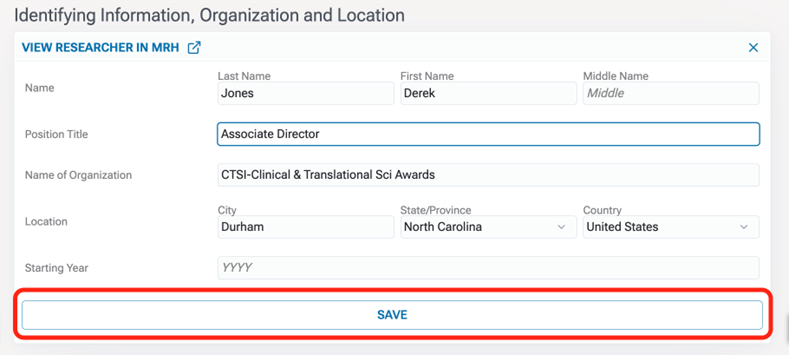
NOTE: Updating researcher information in the Other Support review tool will not update information in any other documents or systems. The updates apply to this Other Support document only and do not get updated anywhere else.
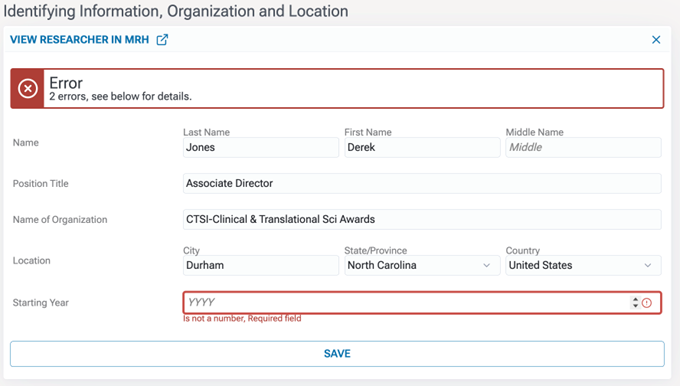
If you attempt to save without entering all required information, you will receive an error.
Project information is edited the same way. Click the three dots in the project header, then click “EDIT PROJECT.”
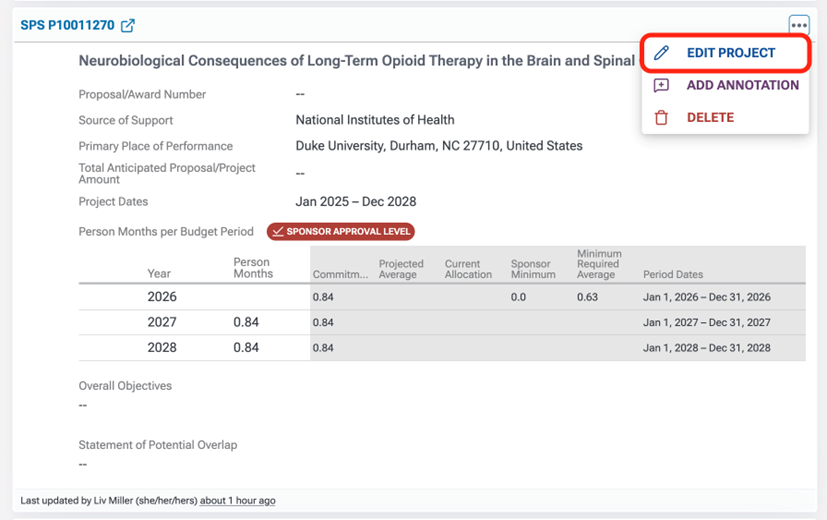
Edit the fields you need to update and then click SAVE:
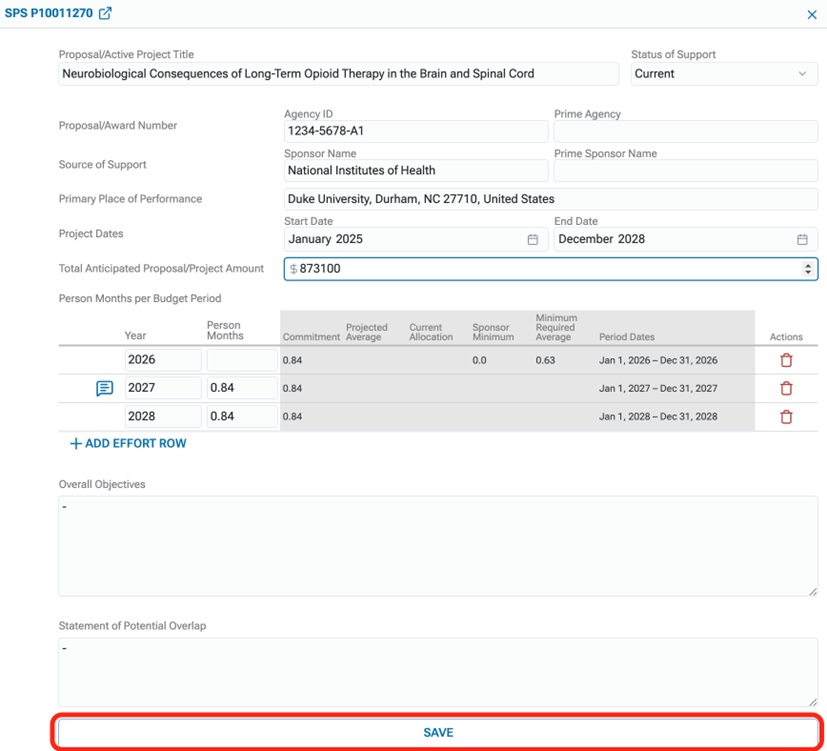
NOTE: You will get an error if you attempt to save the project with the Overall Objectives, Statement of Potential Overlap sections, or any other required fields left blank. Since the researcher may have not yet provided information for these, enter any character (such as a “—") to allow the save. Ensure you return to these sections later to fill them in.
A success message at the top of the screen will pop up indicating your changes were saved:

Annotating
Annotations allow you to add notes the document without modifying the values. For example, you may need to annotate that an NCE is expected to be approved for a project, or you may need to annotate that the researcher should double-check the effort levels. Only annotations that you specify as Researcher-Assigned will be shown to the researcher.
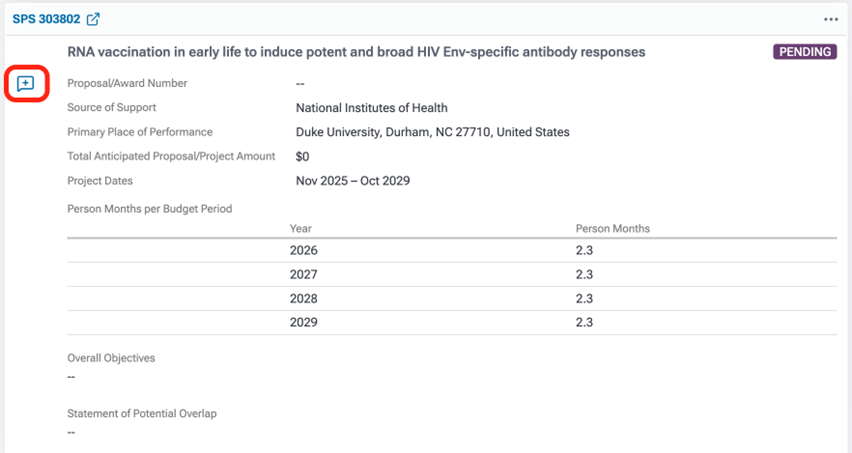
To add an annotation to a project rather than a specific field, click the three dots in the project header, then click “ADD ANNOTATION.”

To add an annotation to a specific field on a project, hover over the field and click on the comment box next to the field.
The field you are annotating will briefly be highlighted in yellow to indicate the field you’re commenting on, and the project title will be above the annotation box. The field name will also be in the annotation box (Proposal Award Number in the screenshot below). If you are annotating the overall project, “Project” would be displayed, such as in Step 4.

Enter your comment in the box. Leave the “ASSIGN TO RESEARCHER” box checked if the researcher should view this annotation.
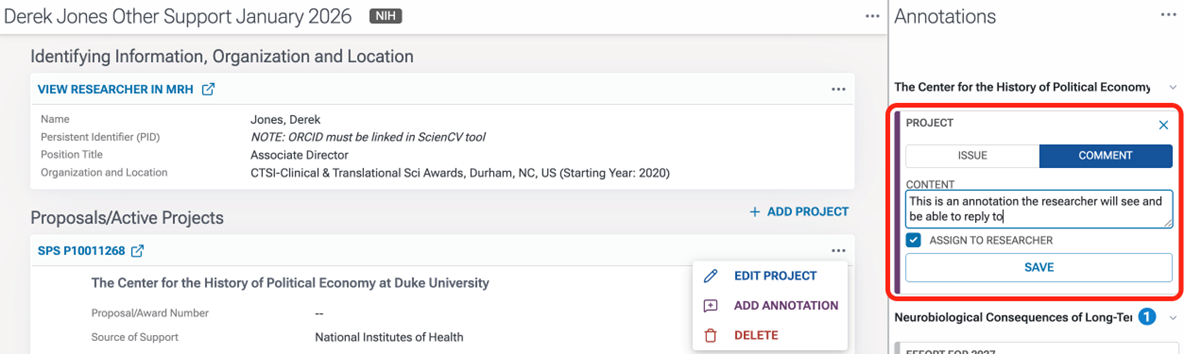
Uncheck the “ASSIGN TO RESEARCHER” box if the researcher should not see this annotation.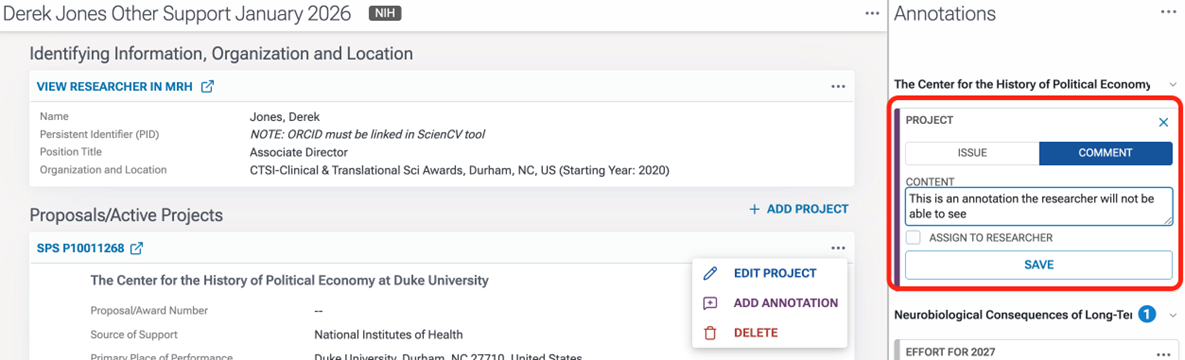

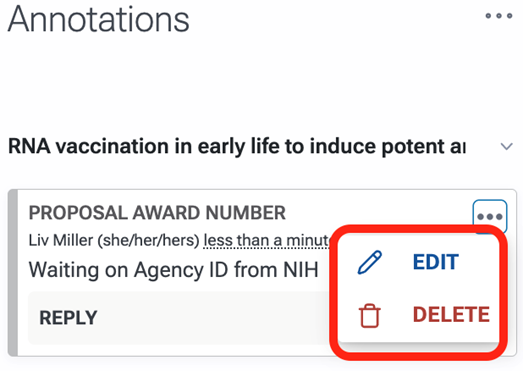
To edit or delete an annotation, click the three dots on the annotation and click “EDIT” or “DELETE.”
Adding or removing projects
Not all projects are entered in SPS, such as VA projects or internal projects. Therefore, there may be instances where you need to add projects to an Other Support document.
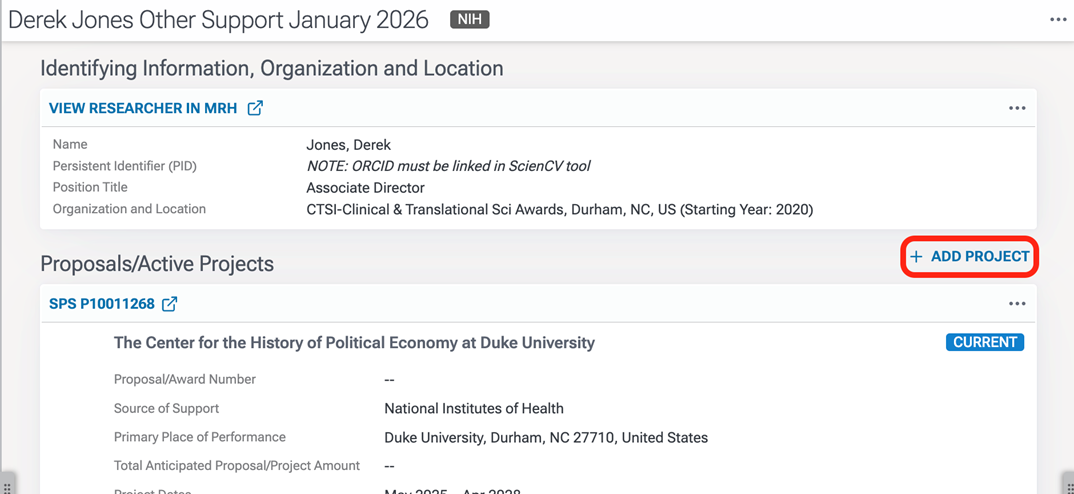
Scroll to the top of the review screen, then click “+ ADD PROJECT.”
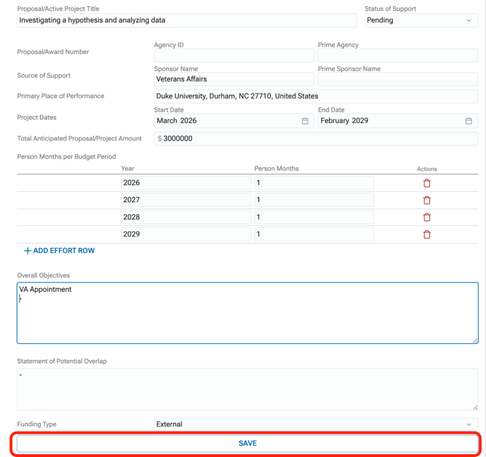
Enter the project information.
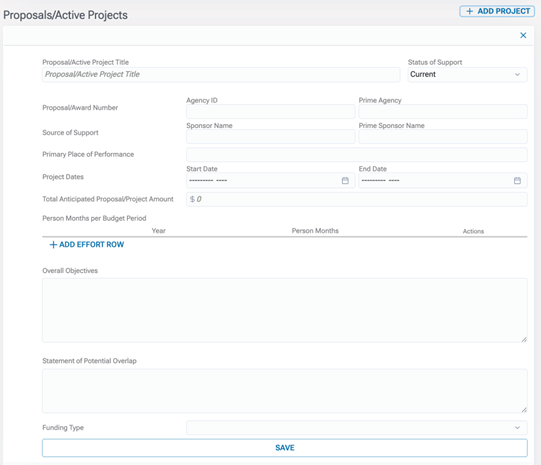
Enter effort levels by clicking “+ ADD EFFORT ROW.”

Click SAVE.
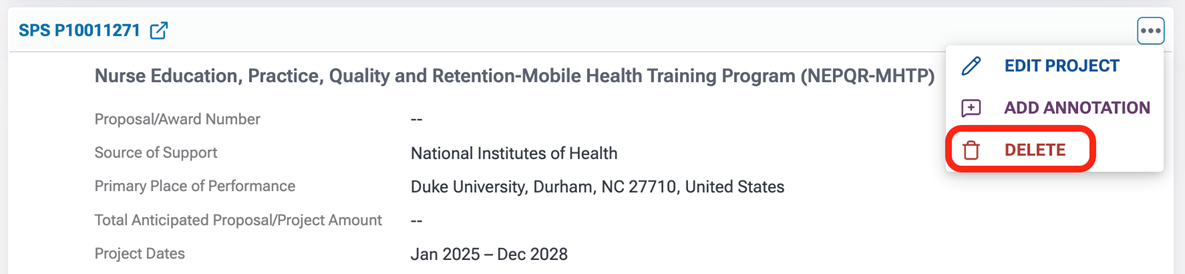
To remove a project from this Other Support document, click the three dots in the project header and click “DELETE.”
Click OK on the pop-up confirmation box to proceed with deleting the project, or cancel to cancel.
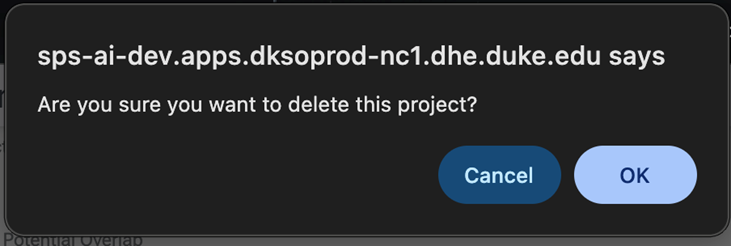
NOTE: This deletes the project from this Other Support document only. It does not delete the project from any other documents or from SPS.
Review process
It is important to note a few general principles about the Other Support review process:
- The Other Support review tool generates a document based on data found in SPS. If a project was not entered in SPS, it will not be included in the document upon generation (but you can easily add it—see Step 2.3).
- SciENcv supports an XML upload to create an Other Support document. When you upload the XML file, SciENcv reads the data and fills in the appropriate fields for you, similar to how a job portal extracts information from an uploaded résumé so you don’t have to type it in yourself.
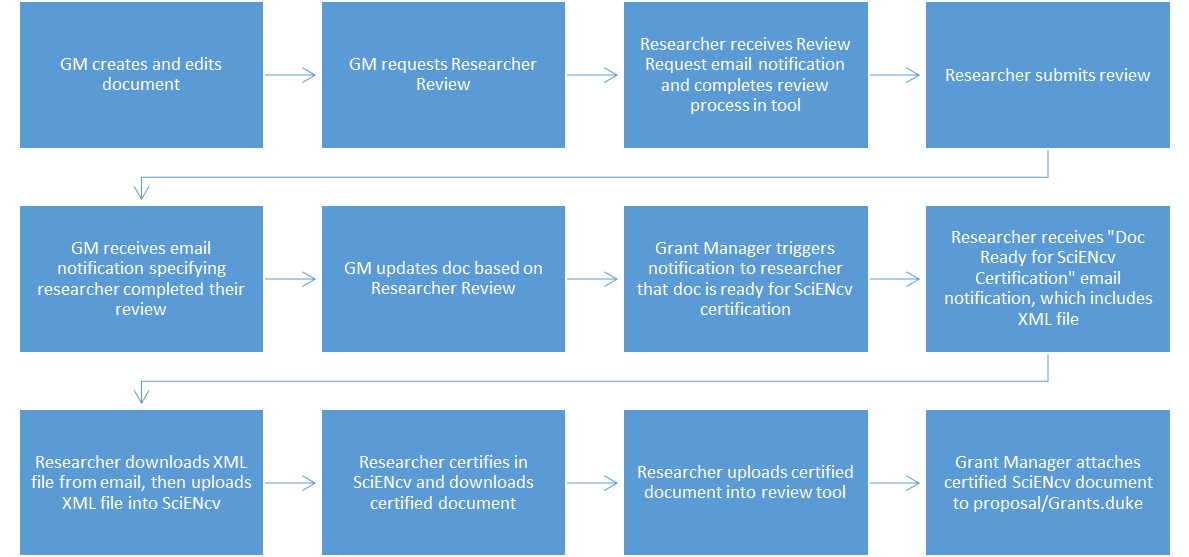
The Other Support review process in the tool is shown below. Please note, all steps take place in the review tool other than the SciENcv upload and certification process, which takes place in the SciENcv system.
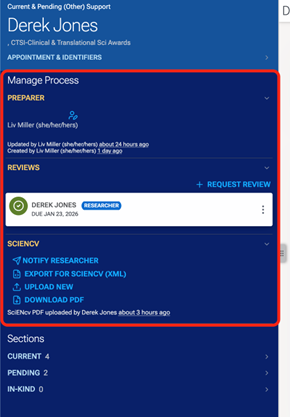
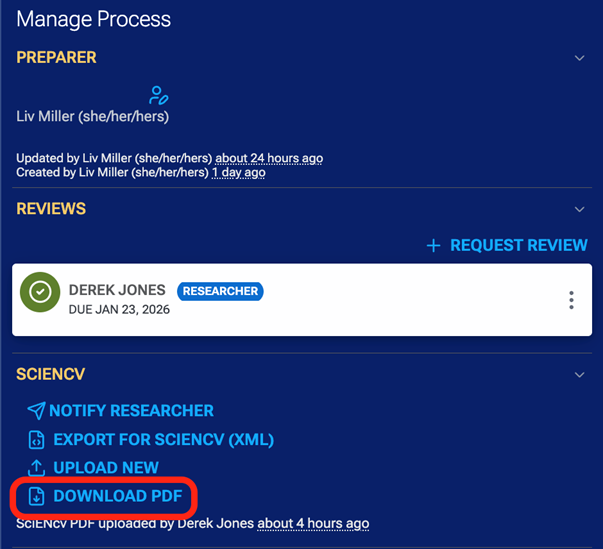
The “Manage Process” section in the review tool contains information about the preparer (i.e., Grant Manager who created the document) and buttons to complete steps in the process.
Requesting researcher review
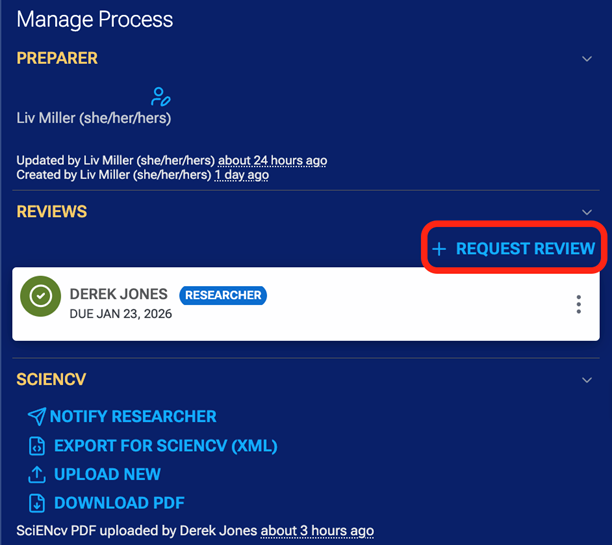
To request a review of the document from the researcher, click “+ REQUEST REVIEW” in the Reviews section.
Enter any instructions to send to the researcher along with the review request, then click “SAVE & SEND.”
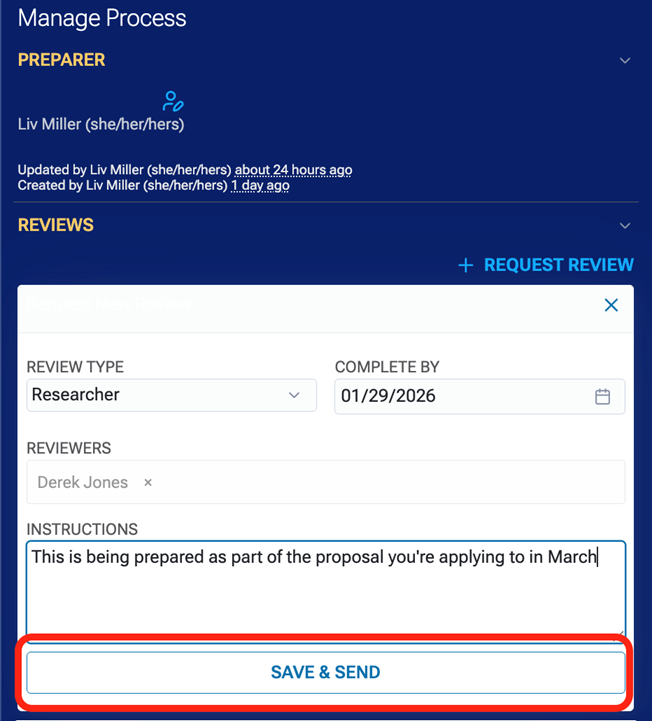
You will see a success message at the top of the screen indicating the review request has been sent.

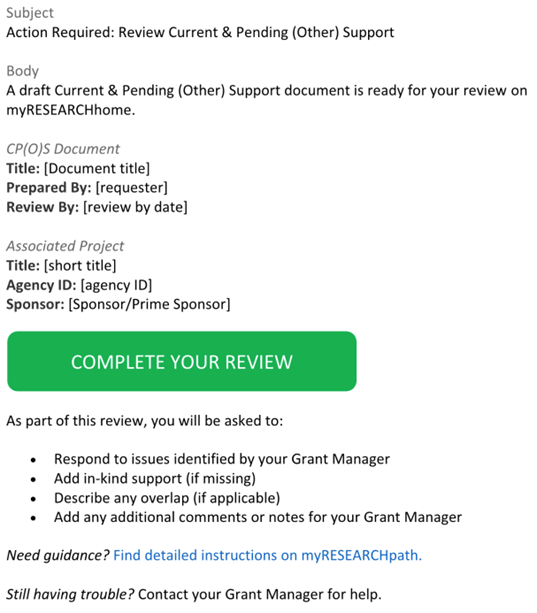
The researcher will receive an email like the one below, and the “COMPLETE YOUR REVIEW” button will take them directly to the tool and guide them through the review process:
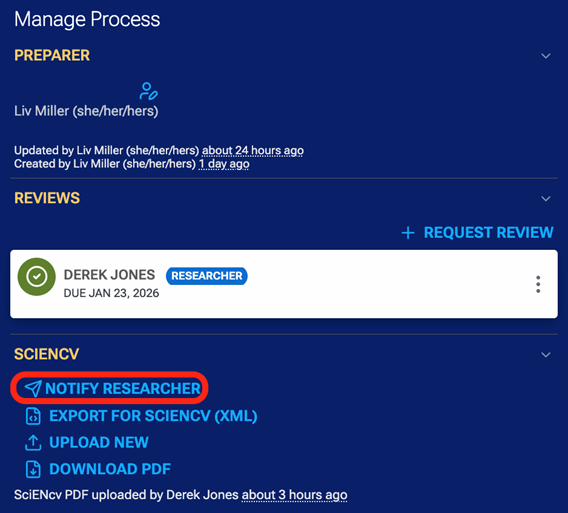
Notifying a researcher to certify the document in SciENcv
This step should only be completed when the document is complete and will not need further edits.
In the SciENcv section, click “NOTIFY RESEARCHER.”
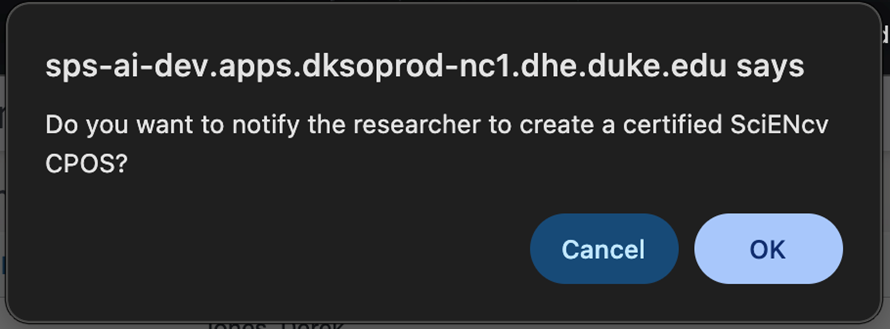
Click OK on the confirmation message to send an email notification to the researcher, or cancel to close.
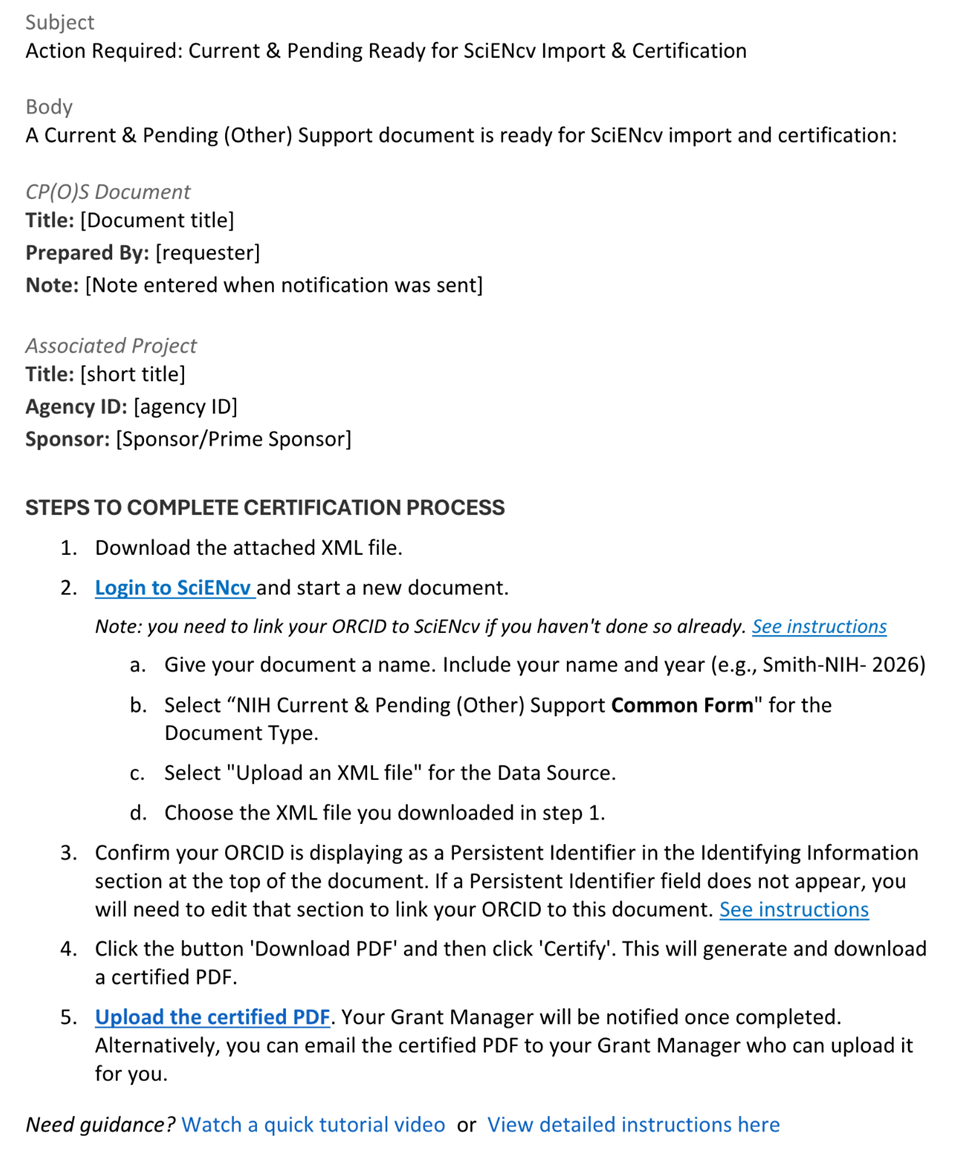
The researcher will receive an email like the one below:
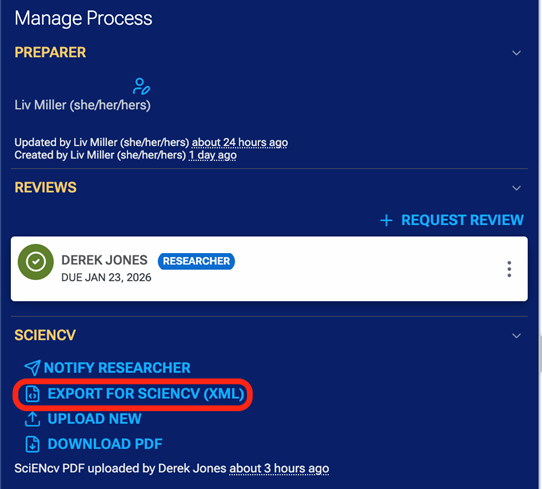
Exporting for SciENcv (XML)
Other Support documents can be downloaded from the Other Support review tool and uploaded into SciENcv as an XML file, eliminating the need for manual entry in SciENcv.
Click “EXPORT FOR SCIENCV (XML)” in the SciENcv section.
The XML file will download.
Downloading the PDF
Some researchers may prefer to utilize a more traditional approach when reviewing a document. Therefore, while use of the tool is highly encouraged, downloading the document as a PDF is also supported. This PDF could then be emailed to the researcher for review.
Click “DOWNLOAD PDF” in the SciENcv section.012
The information will be downloaded as a PDF. Click to open it.
- The PDF export will look similar to the Common Forms format.
What will the researcher see?
Since a grant manager’s responsibilities include assisting the researcher, it’s crucial for grant managers to be familiar with what the researcher will see and do as part of their review process.
The researcher will receive an email notifying them to complete their review when you request a researcher review in the tool (see Section 3.1.) They will click the “COMPLETE YOUR REVIEW” button in the email.
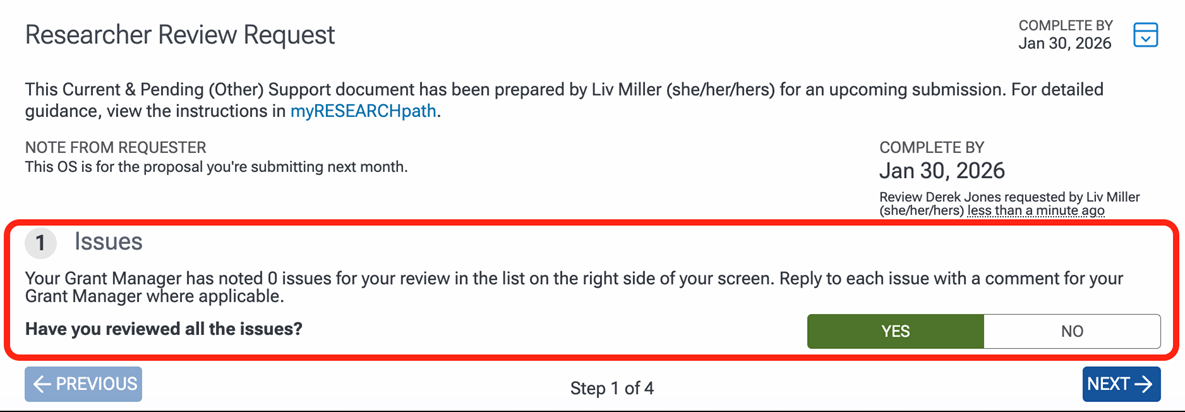
Clicking “COMPLETE YOUR REVIEW” will take them to the following page, which includes the Researcher Review Request circled in red below.
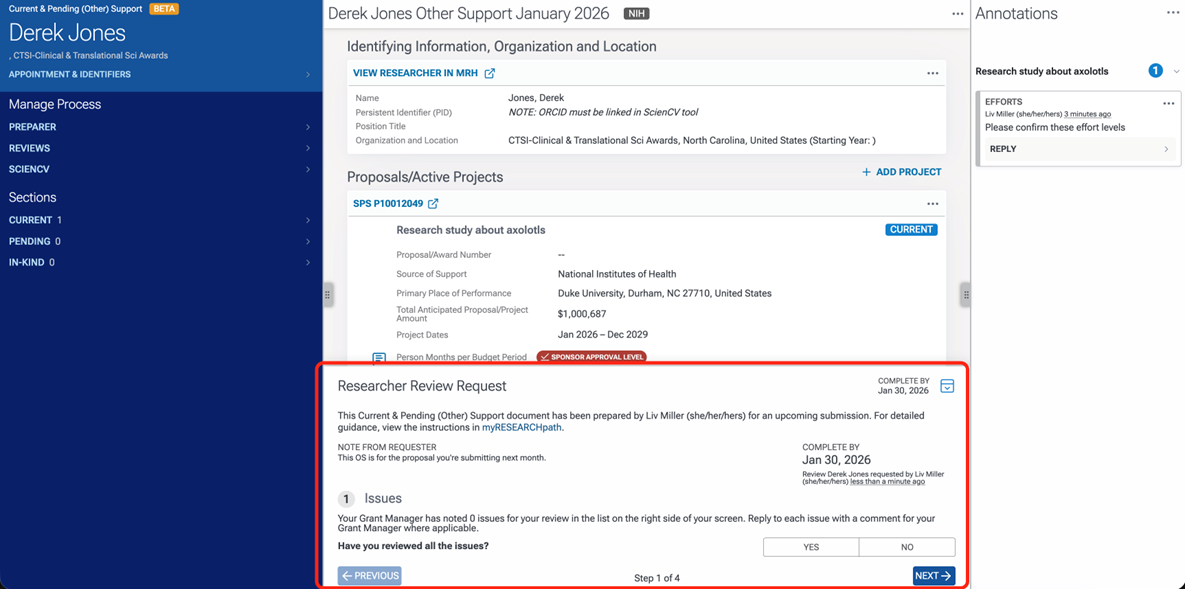
The first question tells the researcher how many annotations you have marked as researcher-assigned and instructs them to review/reply to the annotations. After they review the researcher-assigned annotations and select YES, they will click NEXT.
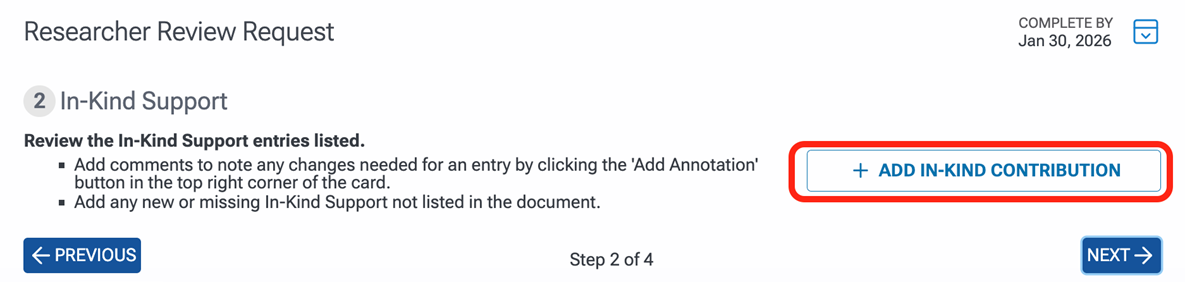
The second question prompts them to review the listed in-kind contributions and add additional if applicable. If they have no in-kind contributions to add, they will simply click NEXT on this screen. If they do have in-kind contributions to add, they will click “+ ADD IN-KIND CONTRIBUTION.”
Clicking “+ ADD IN-KIND CONTRIBUTION” will prompt an in-kind entry creation, and the middle panel will auto-scroll to this new entry section.
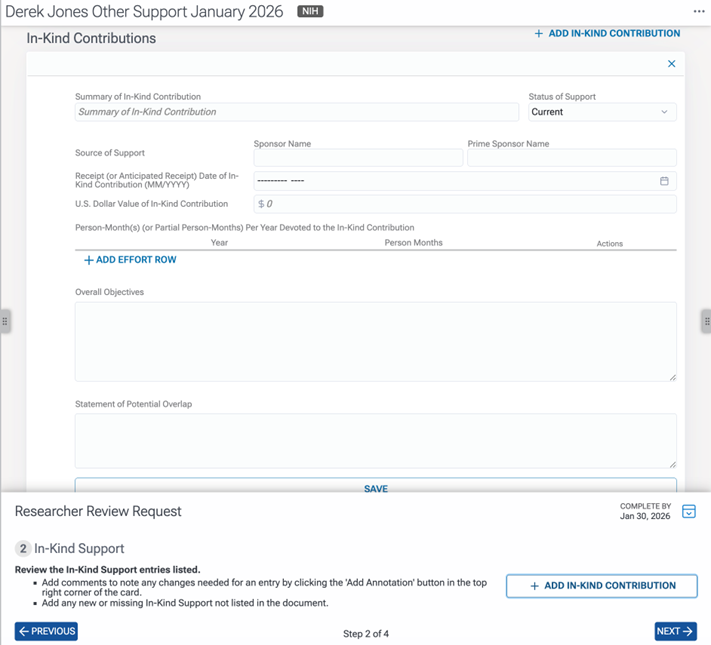
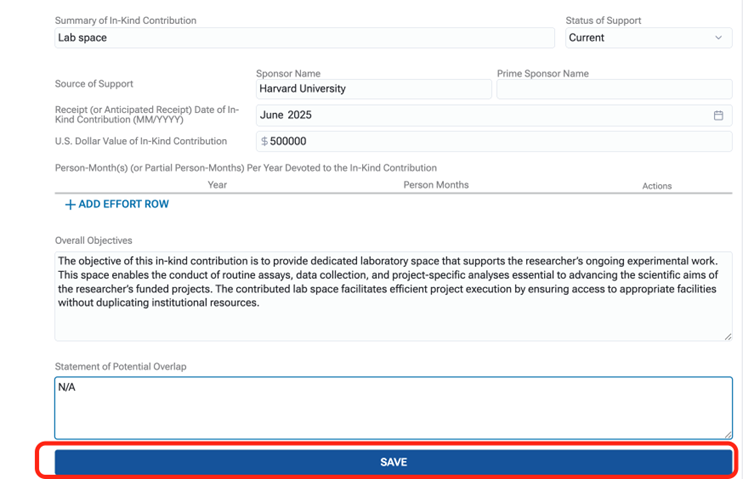
They will enter the information, then click SAVE.
The third question prompts them to indicate if there is any potential overlap with any of the projects.

If there is overlap, they will click YES, then they will be prompted to indicate which projects have overlap and to explain the overlap.
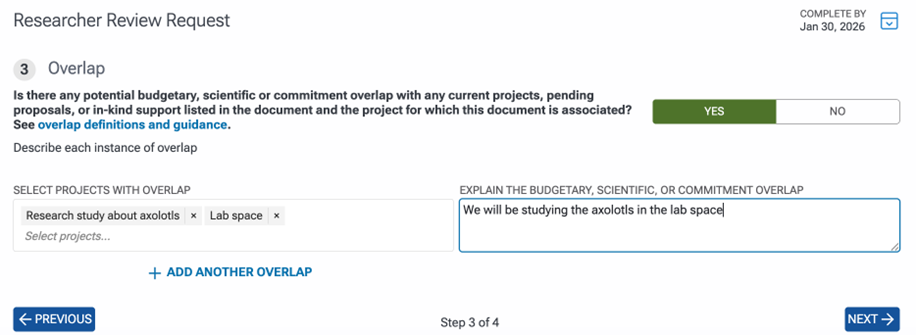
If there is no overlap, they will click NO, then they will click NEXT.
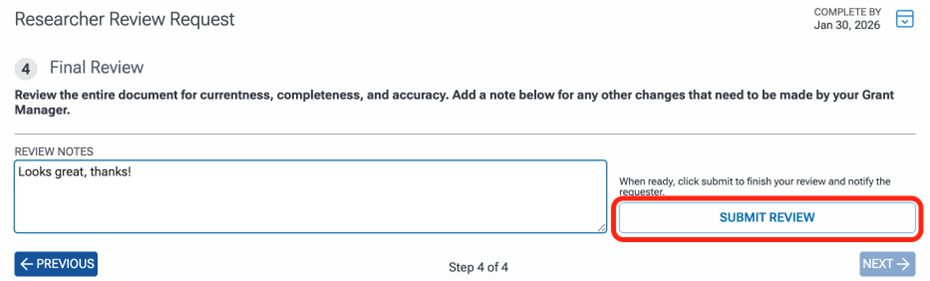
The fourth and final question prompts them to review the entire document for currentness, completeness, and accuracy, and add any additional notes about the review. Then, they will click “SUBMIT REVIEW,” and you will receive an email notification indicating they’ve completed their review!